Building room geometry with a sloped ceiling in EASE
This tutorial guides you through the process of creating a room with a curved and sloped ceiling in EASE.
You will build the geometry step by step, including the ceiling slope, ceiling surface, and walls.
Floor
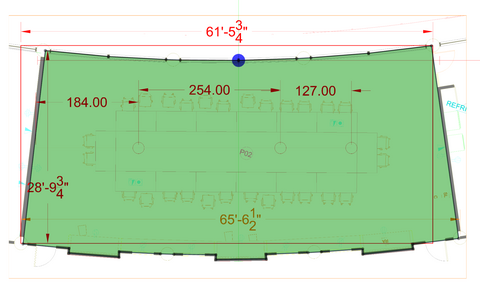
We will now create the polygon that forms the floor.
Select the POLYGON Icon
Click on all the points along the perimeter
Make sure the outline is accurate, as it defines the overall room shape for all following steps.
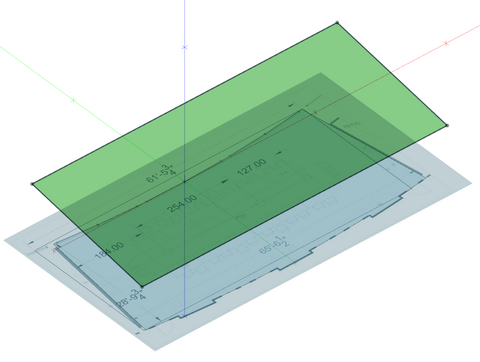
This surface defines the slope of the ceiling and will serve as the reference plane for the final ceiling geometry.
Make sure the dimensions and height values are correct, as they directly influence the overall room shape.

Ceiling
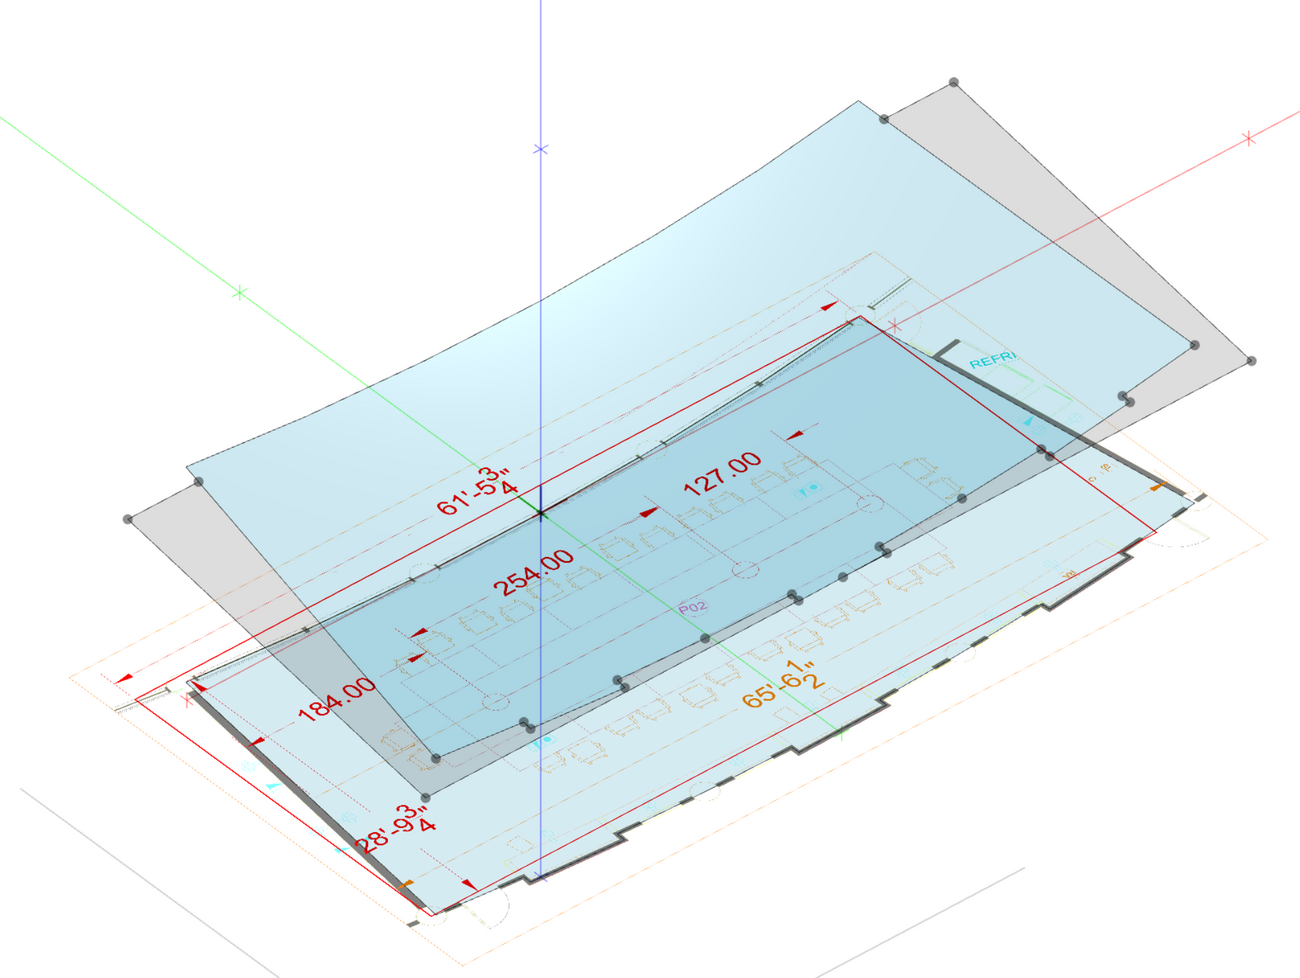
We will now create the Polygon that forms the ceiling.
Select the Ceiling Slope Face if it is not selected. Invert its orientation if it has a thick border indicative of it facing away from the floor.
Press the Polygon in Face icon to create the new surface in the sloped plane.
Hover over the mid point of the central bottom Face on the surface on the floor, then press Z.
Press [F2] to switch to activate snapping to surfaces.
Move the mouse to the ceiling slope plane directly above the point on the floor. The cursor will change to 2 red circles to indicate that you will now create a point on the sloped plane when you click the left mouse button.
Hover over the next Vertex on the surface on the floor, then press Z.
Continue hovering around the perimeter of the floor and pressing Z until you get to the last vertex.
Press C to Close the Polygon.
Press Esc to get out of the Polygon in Face mode, select the outer part of the ceiling slope plane, and press Delete.
Walls
We will now extrude the floor face to create the walls. This step defines the vertical boundaries of the room and prepares the geometry for alignment with the sloped ceiling.
Select the floor face, then select the Extrude Face icon, then press Enter.
Type 12 in the Z textbox, then press Enter.
Select the top face that was extruded, then press Delete.
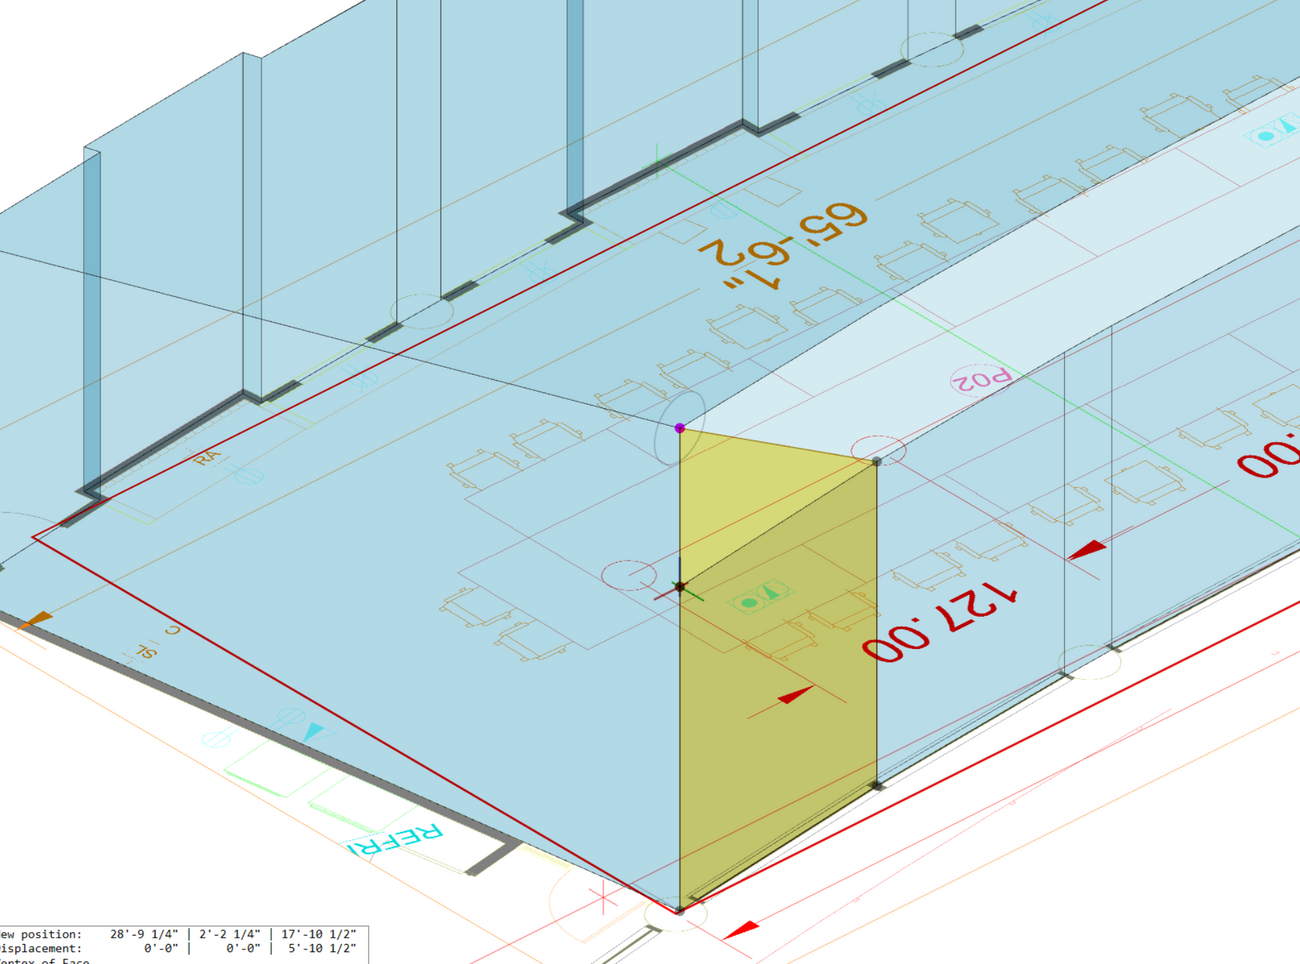
Select one of the walls, then select the Edit Vertices icon.
Select one of the top vertices of the face, then drag it to the matching vertex in the ceiling face.
Select the other top vertex of the face, then drag it to the matching vertex in the ceiling face.
Press ESC.
Repeat the steps above for each of the wall faces. This ensures that all walls correctly follow the slope of the ceiling and complete the room geometry. Work carefully and verify each wall individually to ensure proper alignment with the ceiling surface before moving on.
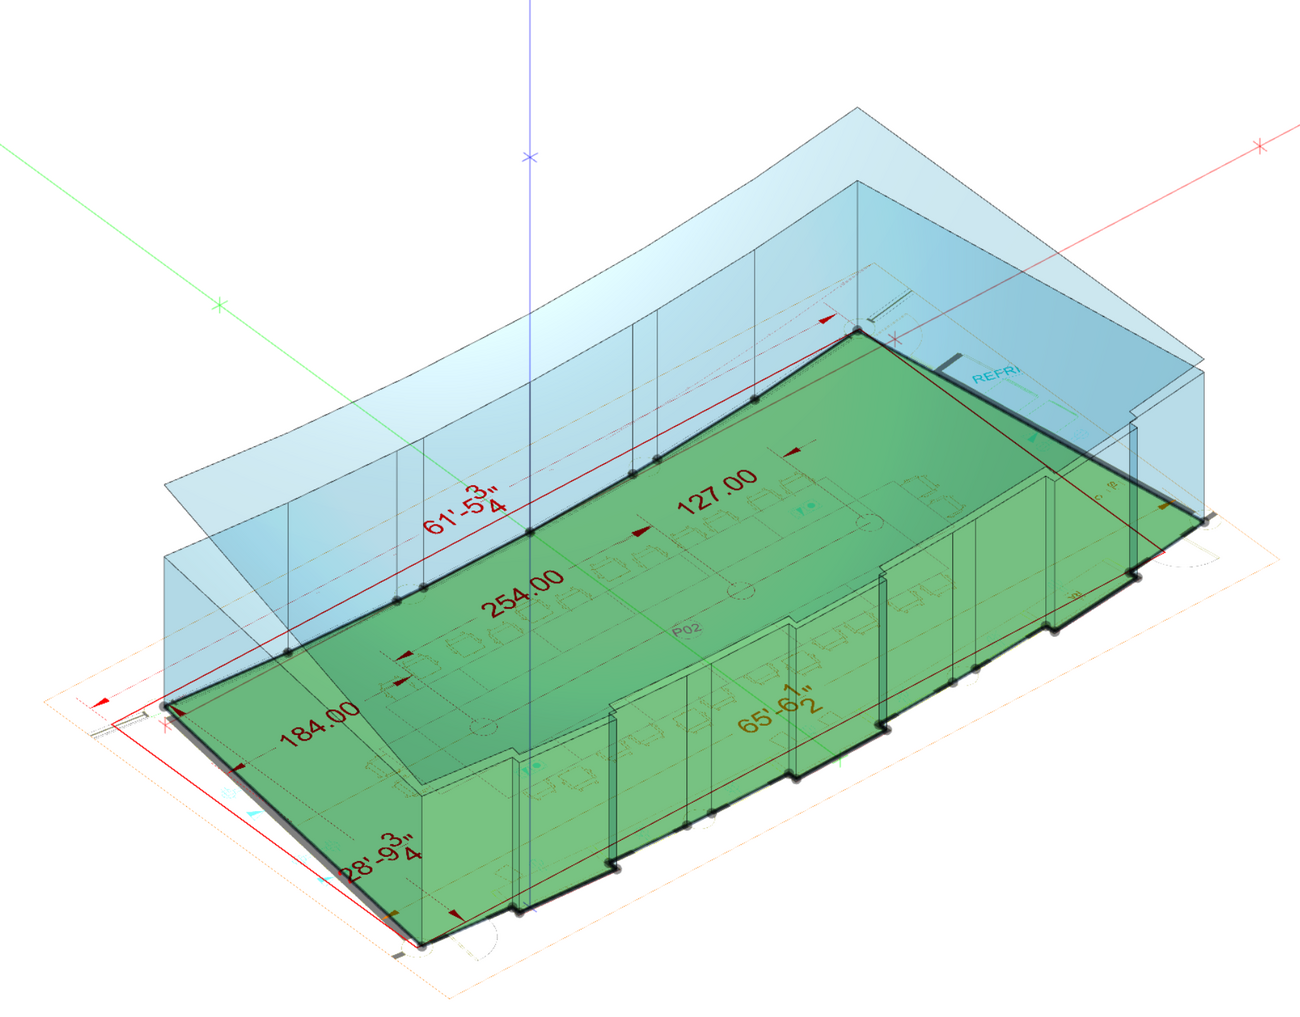
After you have modified each of the wall faces, your project geometry should now be complete.
Review the model from different perspectives to ensure all vertices are correctly aligned and no gaps remain between surfaces.
You can also verify this using the room volume indicator - if it appears green, the geometry is fully closed
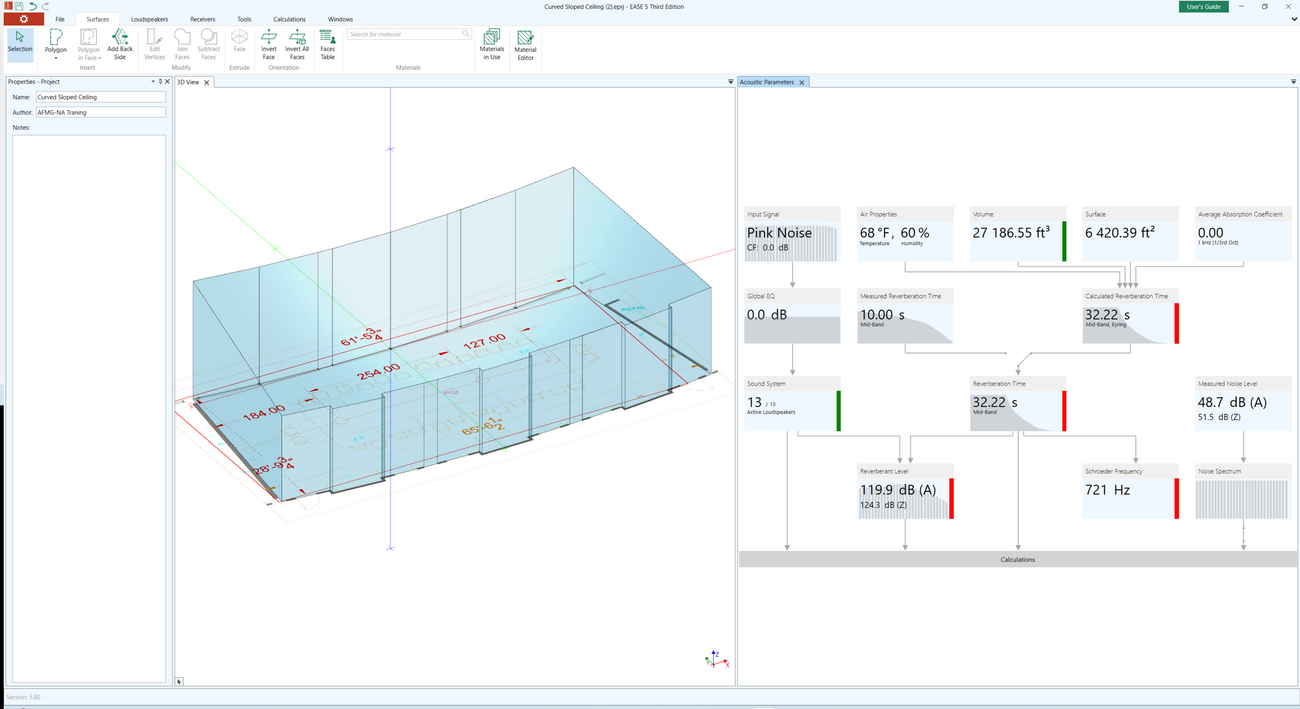
You have now completed the room geometry with a curved and sloped ceiling.

For more modeling tips and advanced techniques, be sure to explore our additional tutorials
and FAQs related to that topic:
Please feel also free to brows through our EASE 5 Tutorial and FAQ sections, where common questions and best practices are covered in detail.
If you need further assistance or have specific questions, feel free to contact our support team - we are happy to help.


